Monday, December 19, 2011

Kids Meal Holder for the Car

_2011-12-19 13.09.33

So, I’ve seen a few times on Pinterest, a kids meal holder someone built out of a plastic caddy. Clever idea, but I thought – I should really post what I do in the car. I never seem to get around to it, though.

Today I dragged my kids around town on errands and we finally stopped at McDonald’s and I thought – I’m just going to take a quick picture or two with my phone.

_2011-12-19 13.34.58

So, here is my easy (and free!) car tray for kids:

*Get the milk, poke a hole in the lid with your car key, push the straw through. (My kids destroy fast food drink cups. They pull out the straw, pull off the plastic lid. It is a major mess every time. Get the milk.)

*Ask for a drink carrier (or two or three, one for each child). Squeeze ketchup (or other dipping sauce – my kids are all about the ketchup) into the middle. You’ve got four other spaces you can put stuff in– this one has apples, french fries, chicken nuggets, and milk.

*The best part is, when they are finished, you can throw the whole thing away!!  I keep thinking I should ask if I can get a whole stack of these to keep in my car.

Sunday, December 4, 2011

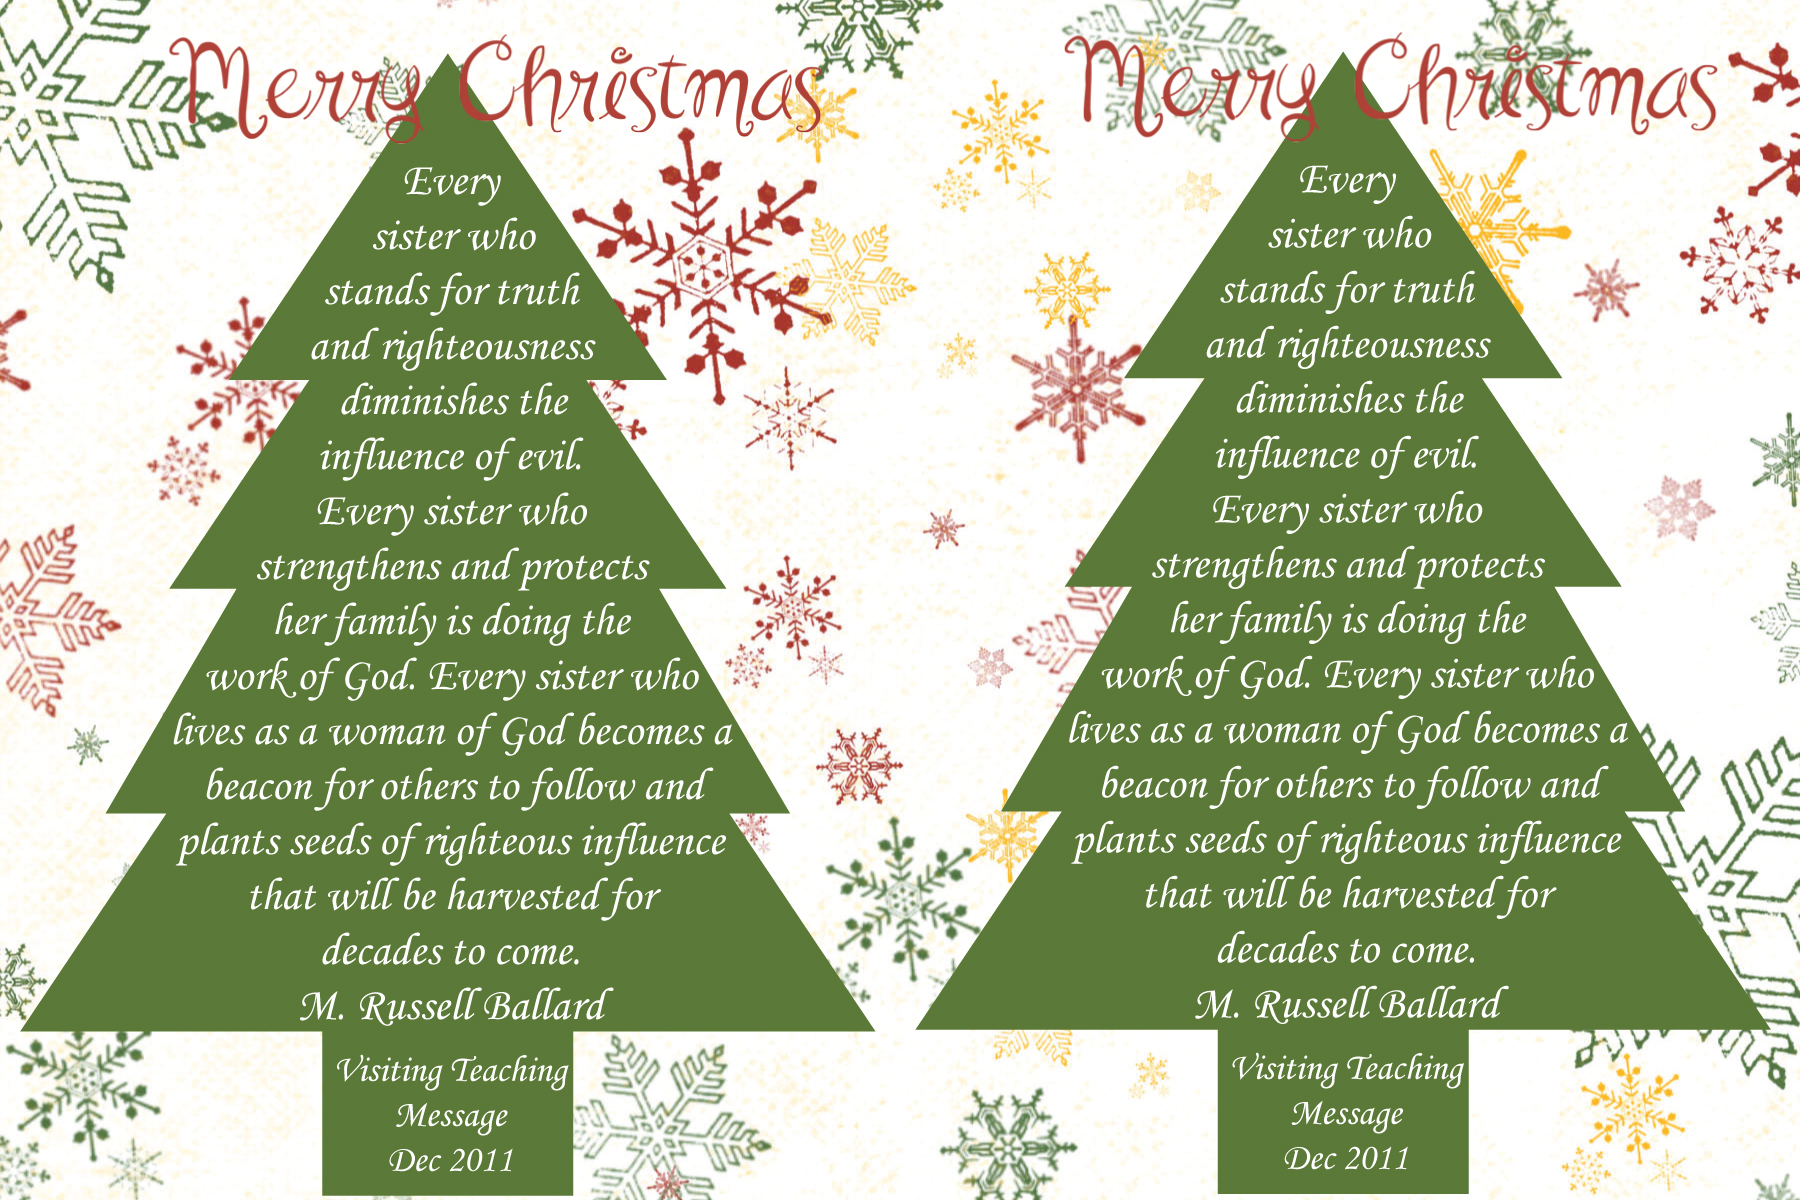
December Visiting Teaching Message

The December visiting teaching message can be found here.

Christmas Tags

I’ve finished handouts for my ward:

_IMG_5026

If you want to make your own Christmas tag, download the file here and then:

1. Print the jpegs as 4 x 6 pictures at Costco or your favorite photo processing place.

DecVT_PhotoTreeCard

2. Glue to a 4 x 6 piece of white cardstock to reinforce the photo.

3. Cut the photo in half to give you two 2 x 3 tags from each photo.

4. Then, punch a hole at the top (insert an eyelet if you’d like), insert ribbon, and add to a plate of cookies or a gift for your visiting teachees.

Christmas Card

I also made a Christmas card with the message. I was originally going to do these for my ward, but then thought of doing a tag.

DecVT_ChristPhotoCard

1. Print the document available in Word or PDF. The document is black and white, but does need to be double-sided. I printed mine on a piece of fancy cardstock called Green Heather.

2. Cut 2.5 inches off the bottom of the page. (You will be left with a 6 inch by 11 inch piece of paper.

a_IMG_5010

3. Score the document 4 inches from the left edge and 3 inches from the right edge.

a_IMG_5012

4. Fold the card.

a_IMG_5014

5. Glue the 4 x 6 card front to the front of the card. You can download the photo front here.

a_IMG_5015

6. Mail or deliver your finished card to your visiting teachees.

_IMG_5028

Christmas Snowball

For my visiting teachees, I will be doing the Christmas snowball that Inkablinka posted. Go to her site to find a free printable and directions. I did change it up a little bit, so I thought I’d post my changes.

For the center of the snowball, Inkablinka used a box with candies inside. I didn’t have any small boxes on hand, but I did have balloons:

a_BalloonwCandy

It’s hard to tell scale in this picture, but I just barely blew the balloon up.

Also, I couldn’t find the gift-wrapped chocolates she used, but I did find some Hershey’s miniatures that were wrapped like presents. Then I printed up a sheet of labels to stick on the back of each one:

a_IMG_5018

Inkablinka included a marking pencil but commented she wished she’d found something smaller. I found these scripture highlighters at Deseret Book for $2.39 a piece. They are shorter than the marking pencils.

_IMG_5033

Another idea I had to go with studying the scriptures daily was scripture ribbons. You could make your own (directions here).

For strengthening families and homes, Inkablinka used a Hershey’s candy bar for a foundation. I found some Ghiradelli’s chocolates on sale and used those.

_IMG_5034

For the yeast (represents magnifying callings), I found individual packets – they came in a 3 pack, I cut them apart and I found them in the baking section at Walmart.

_IMG_5035

For seeds (like faith), I used these dark chocolate pomegranate seeds from Costco. Love these!

_IMG_5036

I still need to make my white-chocolate covered pretzels (prayer) and my world ornaments (I found some old maps at DI), and then I will post a fully assembled picture.

Thanks to Inkablinka for such a great visiting teaching idea! Be sure to go get her free printable and directions here.

Tuesday, October 25, 2011

Birthday Card

_IMG_4598

I finally decided to use this birthday card idea I saw on inchmark.

Free Printable

I created a Word document for this. I believe the other ones I’ve seen on the web have used sticker letters.

If you decide to use my Word document, here are a few tips:

First, change the text to meet your needs and print. I printed on white cardstock.

Now cut .5 inch off the right side (so your document will be 10.5 inches long instead of 11 inches long).

Next, cut the document in half, each half will be 4.25 inches.

Then score the document every 3.5 inches.

Finally, glue or tape the strips together and add the loot.

What I Used

1 Paper doll with stickers, found these in a pack of 8 at Walmart in the party aisle.

2 hair clips, buy them or make your own.

3 scratch and sniff stickers

4 jolly rancher chews, similar to starbursts

5  pairs of stick-on earrings, I cut these out of a larger sheet that I also got from Walmart.

More Ideas of things to Use

Candy: starbursts, laffy taffy, sweetarts

Money: Coins like quarters or silver dollars, I also considered cutting a slit in card for five and sticking in a 5 dollar bill.

Stickers

Sticks of Gum

Balloon

Character band-aids

Hair elastics or bows

Bracelets

Erasers in fun shapes

What other things can you think of?

Cards for the Military

I'm in a card club, each month we meet and exchange cards. This month, we decided to do something different.

_IMG_4534

All cards – 108 of them – went to Operation Write Home, which sends them to deployed service men and women so that they can send beautiful cards home to their families.

I had worked with Operation Write Home once before. When I was asked to put together a short activity for a cub scout night last year, I took paper, stickers, and markers and had them make letters to thank the service men and women. Since then, Operation Write Home has added some printable coloring pages that would make this so easy!

Here are the cards that we made (mine is the shining star one):

_IMG_4536_IMG_4537_IMG_4538_IMG_4539_IMG_4540_IMG_4546_IMG_4547

_IMG_4551

_IMG_4549

Monday, October 10, 2011

Pumpkin Candy Sticks

_IMG_4414

These are so much fun to make! I used a regular package of M&M's and picked out the reds and the blues. Then, I topped them with these little pumpkins.

_IMG_4417

I cut the pumpkins with my Silhouette. I made them by creating 3 ovals, merging two of them. Then I stapled the merged ovals and some green ribbon to the top of the candy sticks and used a glue dot on the remaining oval to cover the staple. I’d be happy to share my file for the pumpkins, leave a comment if you are interested.

October Home Teaching Treats

_TreatBagFront

The home teaching message for this month is President Monson talking about the Precious Promises of the Book of Mormon.

He specifically calls out 8 promises from the Book of Mormon. I created a file to look like the inside of a Dove Promises candy for each one. (Note: I was disappointed because the promises chocolates I bought don’t look like they used to. Here is an example of the old style.)

_PromisesCard

Then, I attached a Dove Promises chocolate to each card with a glue dot, put them all in a sandwich bag, and topped it off with an orange label.

_TreatBagBack

Book of Mormon Promises Cards

The promises cards are available in pdf. I recommend printing these black and white – gold tinfoil is what I had easily available and I didn’t take the 5 minutes to turn it to grayscale.

There are 4 cards per page, 2 pages in the file.

I created these in Adobe InDesign. If you have Adobe InDesign and would like a copy of the file, I’d be happy to share. Wouldn’t these make adorable seminary handouts?

The finished cards are 4 inches by 4 inches. The cutting is a bit tricky, you are better off lining up your cutter on the edge of the picture and cutting than trying for exact measurements.

Treat Bag Topper

Treat Bag Toppers are available in word or pdf. If you just want to print, I recommend printing the pdf file because your Word and printer settings may (probably will!) make the word file print differently on your computer. I cut these by:

Cut 3/4 inch off each side (left and right)
Cut 1/4 inch off top
Cut every 2 1/2 inches from top

If that didn’t work for you and you are printing from pdf, check to make sure that your page scaling setting (in the print dialog box) is set to none.

You could staple this to the bag and be done…. Or, if you decide you must hide the staples, you can cut a piece of cardstock that is 5 inches by 7 inches. Fold in half (so you have 2 1/2 inches and 2 1/2 inches. Staple onto your bag, then put the treat bag topper front over it to cover the staples (you can use glue dots or another type of adhesive).

I printed mine on orange cardstock. You could print them on any color or you could use cute Halloween bag toppers, like these or these.

Tuesday, October 4, 2011

October Visiting Teaching Message

The October visiting teaching message is here. The message is If We Do Not Doubt. It focuses on the need for us as women to live our covenants and draws heavily from the story of the Two Thousand Stripling Warriors. I have two handouts to go with this message.

Handout #1: Message Booklet
Available in PDF or Word

First, I put together a file that has the complete message (well, most of it, I did cut a teeny bit to make it fit). This is the cover:

Microsoft Word - Oct2011VT

I printed mine in black and white and on orange paper:

_IMG_4318_IMG_4322

If you print the pdf file double-sided, you should be able to cut the file exactly in half and then fold each half in half again. That will give you a finished card size of 4.25 inches by 5.5 inches. These will fit in an A2 envelope, too, if you want to mail them. I’m also sharing the Word file. Printer settings can vary, so if you just want to print, the pdf file is the one to download.

Handout #2: Measuring spoons available as a Silhouette print and cut file

Sister Beck talks about the need to live our covenants with precision. I put her quote on these measuring spoons, ending with D&C 25:13

_IMG_4329 

If you use these, you could always incorporate the story of the
Two Thousand Stripling Warriors as you talk. The written message is very heavy on motherhood and for some sisters, focusing more on the covenants aspect and less on the motherhood aspect might be appropriate.

Here is the Silhouette print and cut file. Note: You will need the Silhouette software to open this file.

I did find a fun punch art tutorial for making measuring spoons. If you like this idea, but don’t have a Silhouette machine, you might take a look at this.

image

One other idea I had for precision was this tape measure card. I didn’t create a file to go with the message, but if someone is feeling creative, I think it could make a cute lesson enhancer for this month! If you do, I’d love to see how it turns out!

image

I have a fun home teaching treat/lesson enhancer this month, too, so be sure to check back for that. I hope to have it posted by the end of the week.